Staining a Newly Sanded Wood Floor: A Step-by-Step Guide
Have you just had your wood floors sanded and now feel overwhelmed by colour choices? You’re not alone. Choosing the perfect finish for your freshly sanded floor can be both exciting and daunting. The right stain not only enhances the natural beauty of your wood but also complements your interior style and lighting.
At Floor Angels Ltd, we know that wood floor sanding and finishing is more than just a final touch—it’s what brings the whole room to life. In this guide, we’ll walk you through the process of staining a newly sanded wood floor, including why in-home colour demonstrations are essential and how to make the best decision for your home. Whether you’re a homeowner or an industry professional, you’ll find expert advice and practical insights throughout.
Why Sanding Is Essential Before Staining
Before we can talk about staining, let’s discuss why floor sanding is crucial. Sanding removes the old finish, evens out imperfections, and exposes the fresh grain of the timber. This step ensures that the stain penetrates evenly and adheres properly.
Without thorough sanding, staining your wooden floor would result in patchy finishes and inconsistent colours. That’s why professionals invest time in using progressively finer grits of sandpaper to prepare the surface for optimal staining.

Choosing the Right Colour: Why We Demonstrate First
Not all stains look the same in every home. Light levels, décor styles, and even the direction of natural sunlight can dramatically affect how a colour appears on your floor.
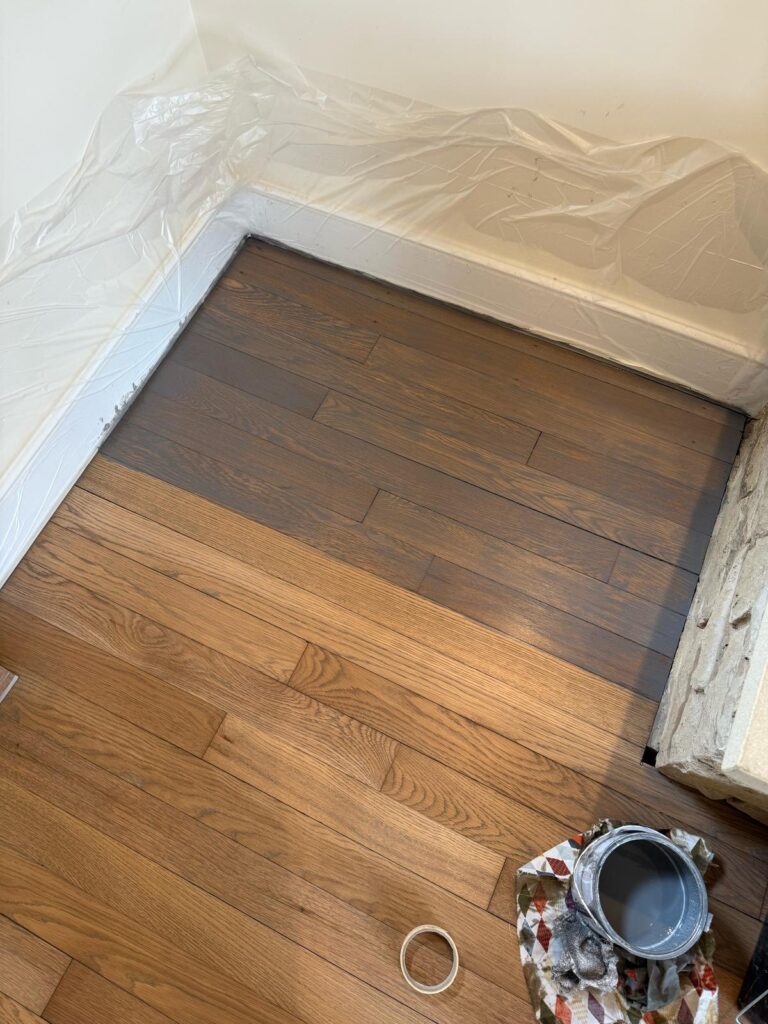
That’s why at Floor Angels Ltd, we perform an in-home coloured stain demonstration before any stain is applied across your entire floor. This allows you to see several stain options directly on your own freshly sanded wood floor. You can compare how each shade interacts with your furniture, wall colours, and lighting.
This step helps eliminate guesswork and ensures you’re completely happy with your final choice—before it becomes permanent.
The Process of Staining a Wooden Floor
1. Preparation and Cleaning
After sanding, we thoroughly vacuum and clean the floor to remove all dust. Even tiny particles can interfere with how evenly the stain soaks in.
2. In-Home Colour Test
Next, we apply small swatches of your chosen stains in discreet areas of the floor. This trial phase is done in natural and artificial light to give you the clearest view of how each stain will look throughout the day.
3. Final Stain Selection
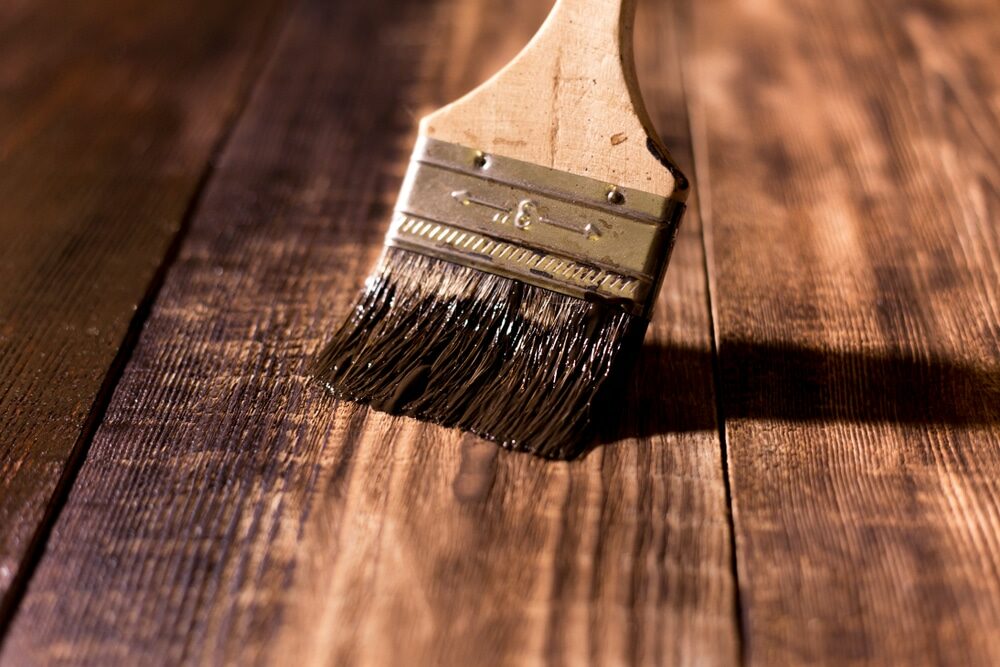
Once you choose your favourite, we move forward with the staining. The stain is applied evenly using applicators, buffing machines and brushes depending on the type of wood and stain used.
4. Drying and Curing
Drying times vary depending on the stain and humidity levels, this will be explained to you.
5. Sealing the Floor
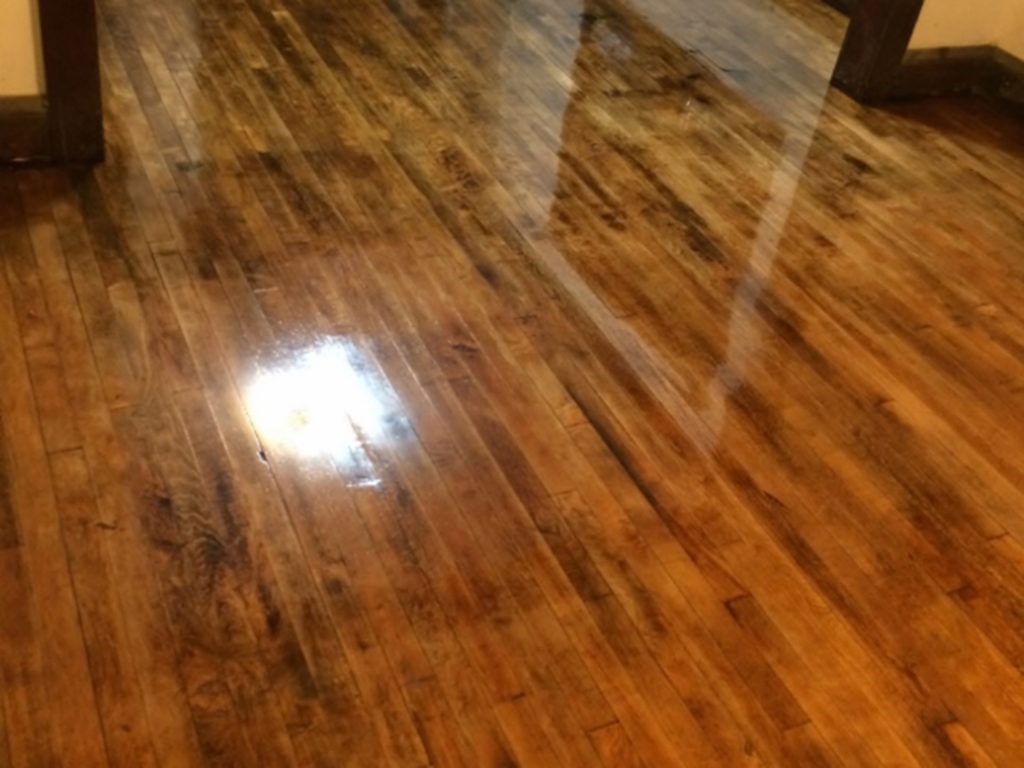
After the stain has cured, we apply protective layers of lacquer or oil finish to seal in the colour and add durability. This topcoat also adds the desired sheen—whether that’s matte, satin, or gloss.
Tips for Maintaining Your Newly Stained Floor
Use felt pads under furniture to prevent scratching.
Clean with PH-neutral products—avoid harsh chemicals.
Refresh the topcoat every few years to maintain shine and protection.
For more advice, check out our guide on how to care for hardwood floors.
Expert Insight and Industry Standards
According to the National Wood Flooring Association, proper preparation and stain testing are two of the most critical steps in floor finishing. These best practices ensure lasting results and customer satisfaction, which is why they’re a core part of Floor Angels Ltd’s service approach.
Your Floor, Your Style
Choosing the perfect stain colour for your newly sanded floor doesn’t have to be a gamble. With expert sanding, in-home demonstrations, and a thoughtful staining process, you can confidently bring out the best in your wood floors.
Ready to transform your floor? Contact Floor Angels Ltd today for a personalised consultation, or leave a comment below with your questions or experiences—we’d love to hear from you!
Related Posts
Staining a Newly Sanded Wood Floor: A Step-by-Step Guide
Have you just had your wood floors sanded and now feel overwhelmed by colour choices? You're not
Read More
Original Wood Floor Restoration: Why DIY Isn’t Worth It
Sanding Original Wood Floors? Why It’s Best Left to the Pros
Tempted to sand your original
Read More
A Name You Can Trust
Trust
Credibility

Proven Track Record
Contact Us
Find out more about our services at Floor Angels

